HOW TO PROPERLY Burn candles

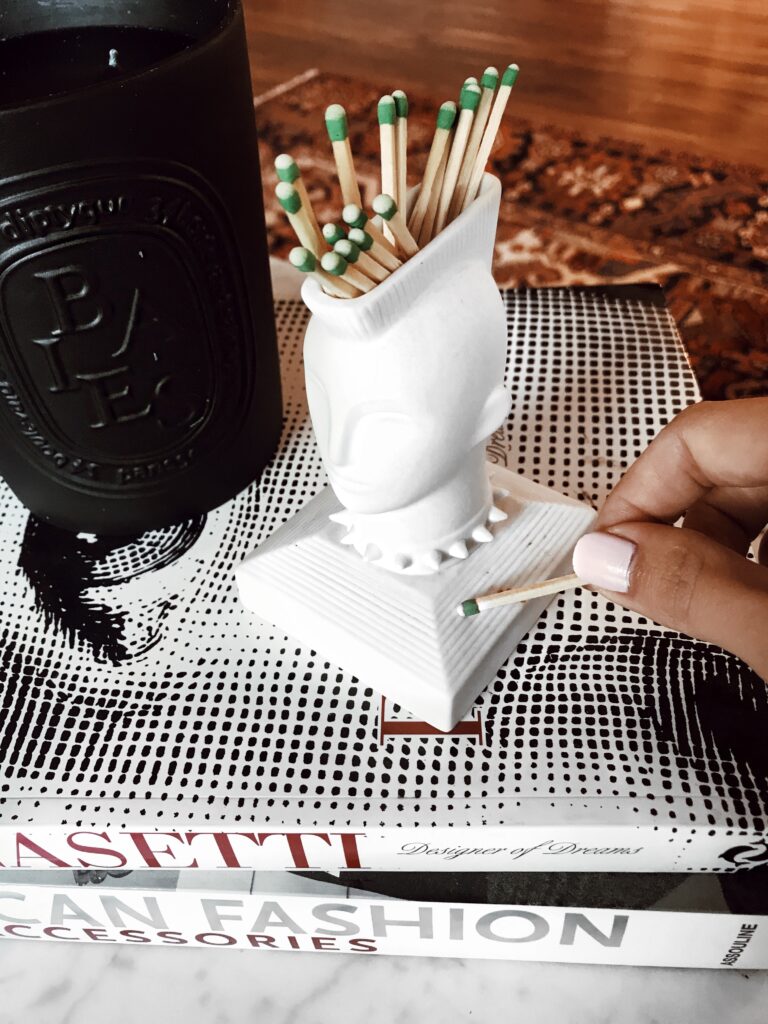
Not sure if you caught my birthday present post on IG Stories, but basically I can officially open a high-end candle shop now. I’m completely addicted to candles so it makes perfect sense that it was many people’s go-to gift for me. You can’t ever go wrong with a Diptyque candle in the classic Baies. Today I want to share a round-up of some of my favorites that I’m currently burning around the house, as well as share some tips to help you properly burn your candles.
To give you the backstory on the whole ‘properly’ burning your candles thing: a while ago someone bought me a GIGANTIC Diptyque candle and after a few burns the wick started getting covered with wax and eventually it was completely uneven and unusable. I entered a severe depression since there was literally 3/4 of the candle wax still in there. I called Barney’s right away to complain that it was defective but they were quick to grill me on my candle etiquette, which I then realized IS a thing that I did NOT posses. I pulled out the box it came in and got comfortable as I read the instructions manual for burning a candle. Yeah…
When it comes to candles I have MAJOR standards. It must smell expensive. I always opt for woodsy, earthy, sexy, smoky candles. I dislike sweet, vanilla, pumpkin, cinnamon, & so on. The scent needs to be natural, not synthetic. I have a struggle during the holidays because it’s the ONE time I want something outside of my norm, but it must be pure BALSAM, not “Christmas Morning” scented. Do you think I’m crazy yet? It’s the bloodhound in me, I’m telling you!
Keep reading to find out the best ways to burn your candles to make them last! I hope you’re reading this PAUL. If you ruin one more candle there will be serious consequences…


TIPS FOR PROPERLY BURNING YOUR CANDLES:
–Invest in the tools. You might scoff at this but using a proper wick trimer and snuffer will be a game changer. I’ve used scissors in the past and it just ruins the wick.
-Trim your wicks. Keeping wicks at 1/8″ is crucial. Before you light up trim your wick. If you see any smoke whatsoever, extinguish the candle, trim, and then re-light.
-Keep wicks upright. If you see them start to droop, you can warm up the wick (don’t light it, just put fire near it), trim it, and straighten it out.
-Discard trimmings. Don’t leave any wick trimmings in the candle. In fact, nothing should be inside the candle. Not only does it ruin the way the wax burns, it’s a hazard.
-The initial burn. When you burn a candle for the first time you need to let it burn for a good 2-3 hours (depending on the size) so there is an even layer of hot wax spanning the entire surface. Without allowing the wax an even layer you will start to see divots, valleys, tunnels, and uneven surfaces that will cut the lifespan of your candle.
-Don’t move a hot candle. If there is hot, melted wax in your candle do not move it. The slightest movement will cover the wick, which will ruin your candle. You also don’t want to mess with the whole even layer thing.
-Don’t blow out candles. Either use a snuffer or lid. Simply cover the candle and let is turn off on its own. Blowing out candles causes the wax to become uneven, you can ruin the wick, and you’ll have all that nasty black smoke.
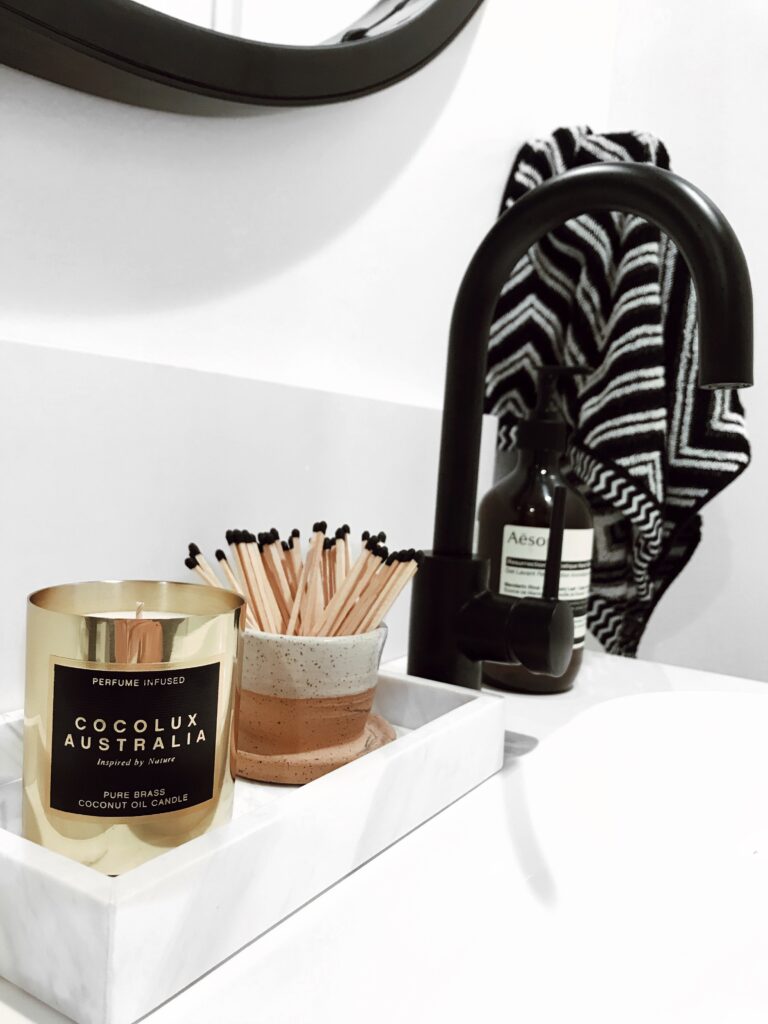
-Light your candles with matches. I love fun match strikes (you need specific matches for it to actually work), so I have them all over the house. Using a longer match will prevent that yucky black ring on the inside of your candles. Lighters basically burn the inside of your candle. If you only have a lighter, make sure to wipe the inside clean once the candle is dry / hardened.