DIY PRINTED Easter eggs
My holiday decor motifs are often directly correlated to the type of decor my home is sporting at the time. Right now, lots of copper, mudcloth, and black and white. I’ve ditched the traditional egg dying ages ago when I just couldn’t master the perfect tie-dye or ombre and moved onto hand-painting and gold leafing–SO much easier. You may have noticed that I did a similar theme this past Halloween with my pumpkins. Again, much easier than carving. In fact, carving a pumpkin is probably one of the most challenging art project ever. Am I right?!
The beauty of this project is you have endless options. Take a walk around your home and scope out printed pillows, wallpaper, books, etc. and get inspired by a pattern. If you’re still stumped, think: animal prints, aztec, geometric, shapes, easy peasy.
For the gold leafing, I love that you don’t have to be perfect. If you don’t cover the entire egg, you will naturally have these organic shapes that form and it looks intentional. However, if you’re a master gold-leafer you’ll also get fabulous results.
Below I’ve outlined step by step how I achieved this year’s mudcloth-inspired Easter eggs.


WHAT YOU NEED:
- A dozen white eggs
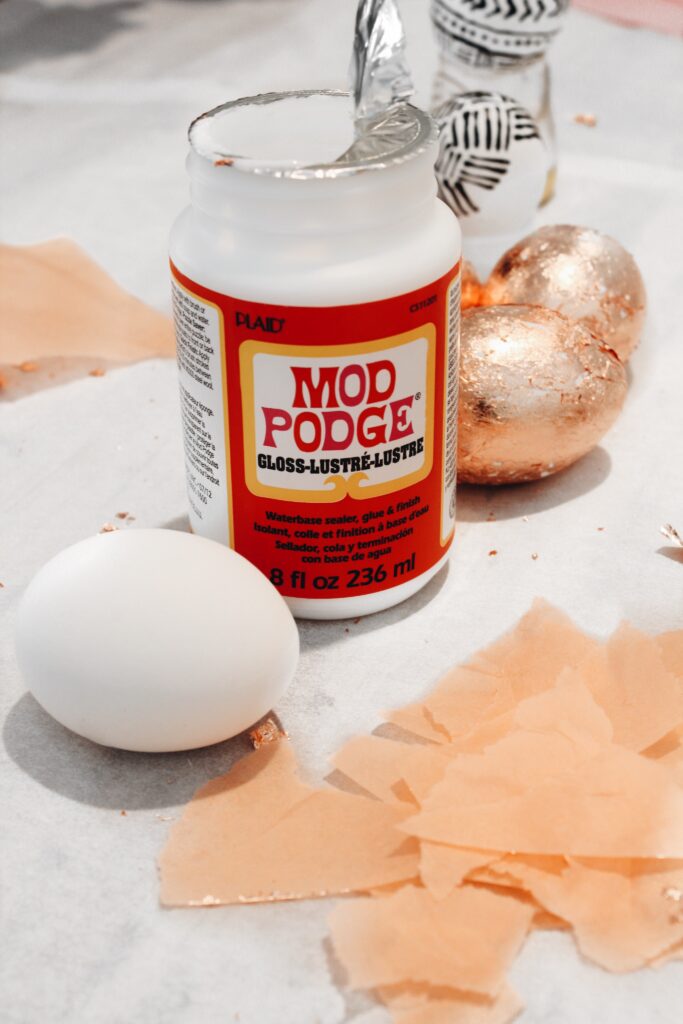
- Modge Podge or glue
- Gold leaf
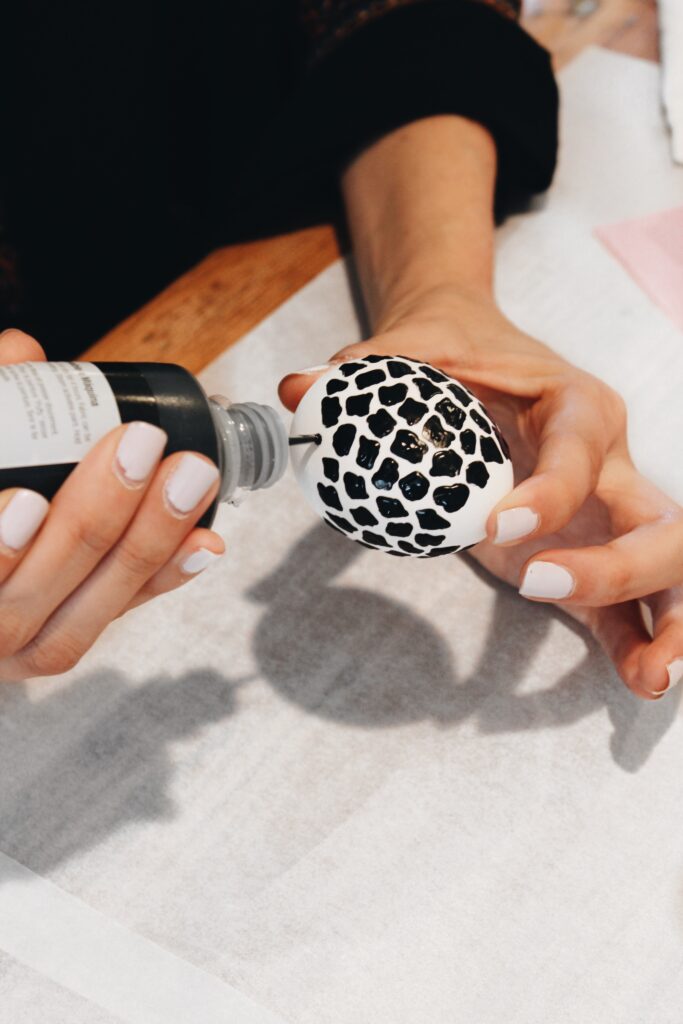
- Clothing paint
- Tissue paper (optional)
WHAT TO DO:
The Printed Eggs: Use your clothing paint to draw directly on your eggs. Allow each side to dry before turning over and continuing.
Tip: Use the cap of a water bottle as the stand for your egg so you don’t have to hold it.
The Gold Leaf Eggs: Cover your egg in Modge Podge (or glue) and apply gold leaf on egg. Use a light grip, as the gold leaf is very delicate and rips easily. Use a dry paint brush to pat down the areas that bubble. If you end up have uncovered spots, you can use colored tissue paper to fill it in.
